If you’ve ever followed a crochet pattern that starts with make a magic ring and felt a flash of panic — you’re not alone. The magic ring (also called adjustable ring or adjustable loop) sounds mysterious, but it takes about 30 seconds to learn and makes every amigurumi, granny square, and circular project look dramatically more polished.
This quick guide shows you exactly how to make a magic ring, why it’s better than starting with chains, and what to do if yours keeps slipping open.
What Is a Magic Ring?
A magic ring is an adjustable starting loop you work your first round of stitches into. Once you’ve worked all the stitches, you pull the yarn tail to close the center completely — leaving zero gap in the middle.
Compare that to starting with a chain: even a ch-2 or ch-4 ring leaves a small hole in the center, which is fine for some projects but looks sloppy on amigurumi faces and tight granny squares.
What You Need
- Your yarn (any weight)
- The crochet hook that matches your yarn
- A yarn tail of about 6 inches (15 cm)
How to Make a Magic Ring — Step by Step
Step 1: Make a Loop
Hold the yarn tail between your thumb and middle finger. With your index finger, drape the working yarn (attached to the ball) over to make a loop. The working yarn should cross over the tail — this crossing point is what makes the ring adjustable.
Step 2: Insert Your Hook
Insert your hook into the center of the loop from front to back. Grab the working yarn and pull it through the loop. You now have one loop on your hook — this is your first chain stitch into the ring.
Step 3: Chain as the Pattern Requires
Most patterns say to chain 1 before working single crochet stitches into the ring. This chain does not count as a stitch — it just secures the ring while you work. (Some patterns say ch 2 or ch 3 for taller stitches — always follow your pattern’s instruction.)
Step 4: Work Your Stitches Into the Ring
Insert your hook into the center of the ring (not into the chain), grab the working yarn, and complete your stitch as normal. Continue until you have the number of stitches your pattern specifies. For a typical amigurumi Round 1: 6 sc into the magic ring [6 sts].
Step 5: Pull the Tail to Close
Gently tug the yarn tail. You’ll feel the ring tightening. Keep pulling until the center hole is completely closed. Slip stitch into the first stitch of the round to join, then proceed to Round 2 as your pattern directs.
Tips for a Perfect Magic Ring Every Time
- Don’t pull the tail too hard too soon — work all your Round 1 stitches first, then close.
- Chenille yarn: the ring can feel slippery. Hold the crossing point firmly between your fingers while working.
- If it won’t stay closed: after pulling shut, work a small knot with the tail around the first stitch before weaving in.
- Left-handed crafters: simply mirror the instructions — the loop crosses the same way, just in your dominant hand.
When to Use a Magic Ring
Use a magic ring any time your pattern says to work in the round from the center:
- Amigurumi heads, bodies, and limbs
- Granny squares (center flower round)
- Hats worked top-down
- Circular dishcloths and coasters
Magic Ring in Action: Free No-Sew Octopus Pattern
The very first stitch in Clara’s Free No-Sew Mini Octopus Pattern is a magic ring with 6 sc. Because the octopus is worked entirely in the round with no sewing, a tight magic ring is what keeps the head seamless and gap-free from the very first stitch.
Magic Ring FAQ
Can I use a chain ring instead of a magic ring?
Yes — ch 2 and slip stitch into the first chain to form a ring, then work stitches into the ring. The center will have a small hole that you can’t fully close. For toys or amigurumi, the magic ring is strongly preferred.
Does the magic ring count as a stitch?
No. The ring itself is just the foundation. Only the stitches you work into the ring count. So 6 sc into MR gives you 6 stitches total at the end of Round 1.
My magic ring keeps unraveling after I pull the tail. What do I do?
After closing, run your hook under the crossed yarn at the center and give the tail a firm tug in both directions. Then weave the tail through at least 4–5 stitches in different directions before trimming.
Related Techniques
These techniques are used together in amigurumi construction:
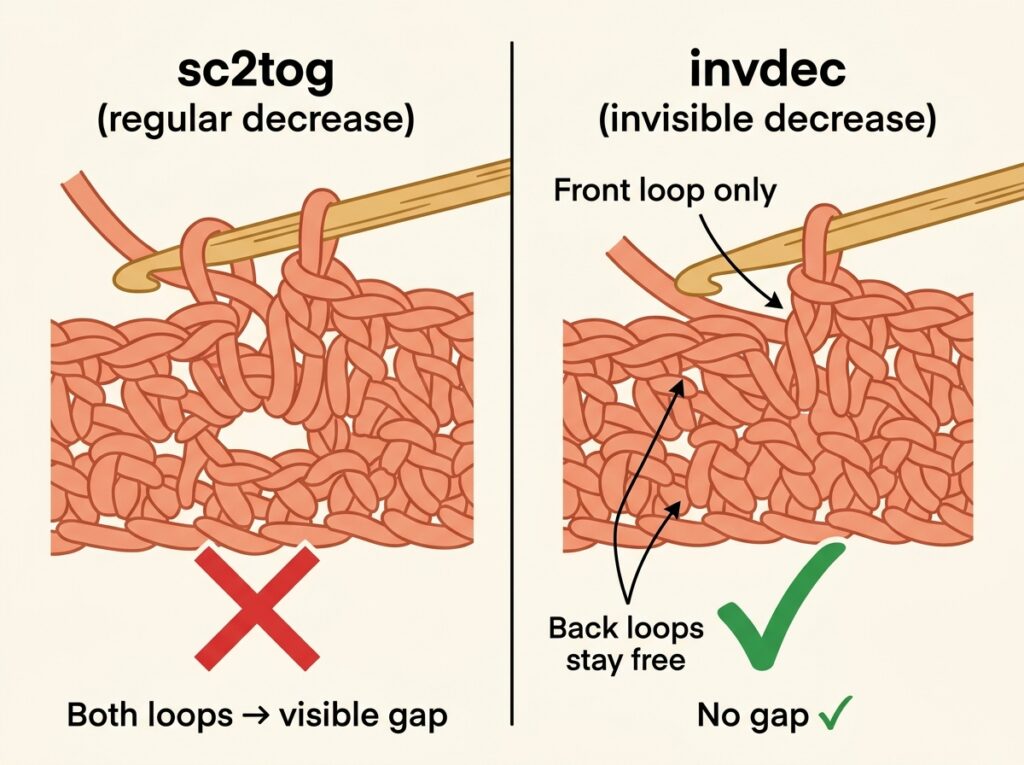
- Invisible Decrease (invdec) — decrease rounds without visible holes or gaps
- FLO & BLO — work into front or back loop only to create texture and joins